Well wasn't this just a comedy of errors?? Like my mom says, "sometimes you make it and sometimes you just gotta buy it". I know I have seen pedestal picture frames before, but they are usually made out of iron. Since I do not know how to forge iron (yet), I decided to give them a try out of wood and some frames I found at the dollar store. You can work with whatever sizes you want. I chose three different sizes. I also picked up some wooden circles at Hobby Lobby to use for bases.

I spray painted everything with Rustoleum's American Accents in Canyon Black.
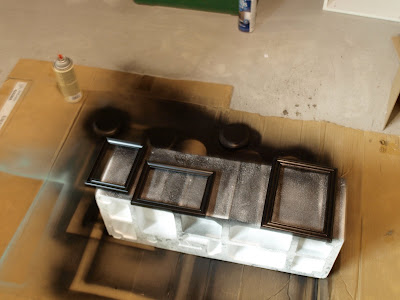
I measured and cut my dowel to the height I wanted the frames to be (I eyeballed it). I think they ended up being 7 inches long.

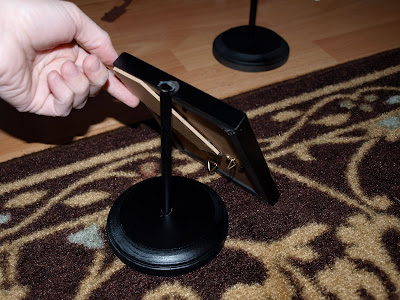
Then I used some Gorilla Glue Epoxy to secure the frame to the dowel. This was no easy feat. In fact, I had some serious issues. The frame and the dowel did not want to be secured to each other. I managed to set them up on an old piece of styrofoam and tried to get them to stick.

But, every time I walked away or turned my back, this is what I found.

Over and over again the dowel kept falling. I had to get creative! I carried my fussy frame around the house with me until I spotted it- a Wesco (gas station) popcorn bucket. I propped the frame up against it and voila! It stayed!! (Please pardon the messy kitchen in the background.)

I let the frames dry for awhile and I attempted to drill holes in the round wood circles. After my attempts to epoxy the frames to the dowel, I knew I would need to do more to attach it all to the wooden circle, which is why I decided to pull out the
hubby's drill.

My only problem was that I didn't have the right drill bit. So, one side of my brain told me to use the bigger drill bit. Yeah. That didn't work out so well. The other side of my brain told me to use a smaller one. That worked better. (Mental note: listen to that side of brain more often.) So I had to paint my mess-up. Time for more Rustoleum American Accents Canyon Black! That's ok, I saved the other wooden circle for a different project I am working on. Reuse and recycle!

Finally! Everything was going great and I was on the home stretch. I chose some pictures to put in each frame. I cleaned the glass, put them into the frame, began to secure the back and... OH NO! NOT AGAIN!
Ok, that's it! All I could do was laugh. And it was definitely time for some hot glue. I fixed the frame and here is the end result.


Not too bad, for all that work, huh?
I will be linking this to:
 Metamorphosis MondayMade it Monday


Bobbypins BoardwalkStrut Your Stuff Thursday Thrifty Thursday


